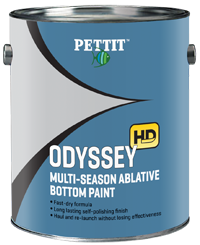
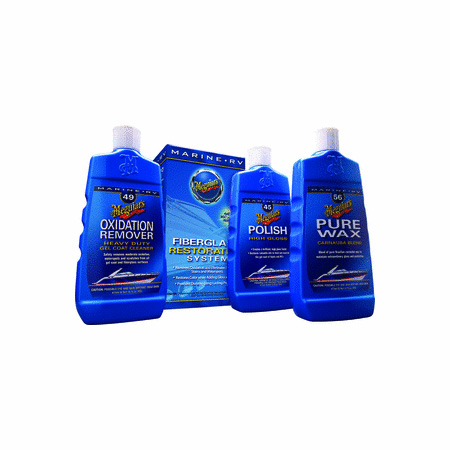
Boat Paint, Repair & Maintenance - Gel Coat, Cleaners, Carpet, Epoxy
Paint & Maintenance How-To's

Boat Repair Product Tips
Engine Cleaners and Degreasers

It’s for this reason that we offer so many different specially designed cleaning and degreasing products. Products such as our Starbrite Engine Protector are excellent all around maintenance products, allowing you to protect the exterior open surfaces of the engine from the common rust and corrosion problems that many boat owners run into. Additionally, the simple spray easy-application process means that you do not have to dedicate a lot of time in order to receive the high quality results that it provides.
We also offer a range of different products that are designed for specific areas of the engine and boat. These include the CRC Engine Cleaner and Degreaser, the CRC Carb and Choke Cleaner, and the CRC Brakleen Brake Parts Cleaner. These products provide you with maximum performance, allowing you to protect very specific areas within your engine. Removing contaminants from your engine helps to ensure a long life for your boat, and may limit the amount that you can expect to spend on repairs down the road.
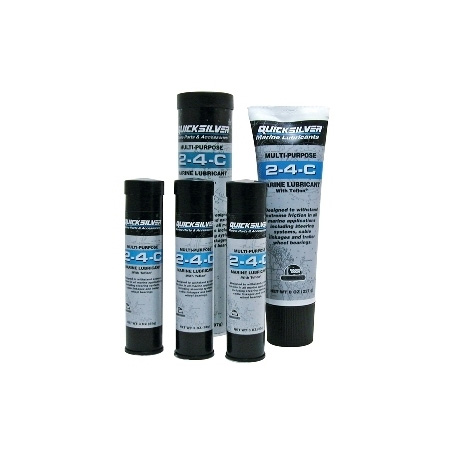
Lubricants

We have oils and lubricants that are specifically designed for different purposes. For instance, our Type “C Gear Oil is specifically formulated for older model outboards and I/Os that come equipped with an electric shift, keeping them well lubricated and clean. This product in particular helps to reduce friction in these types of engines, reducing friction and protecting gears and bearings.
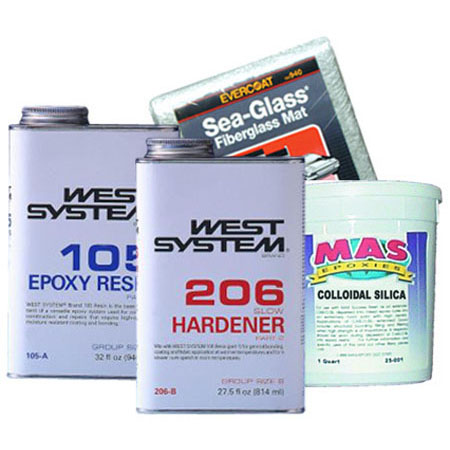
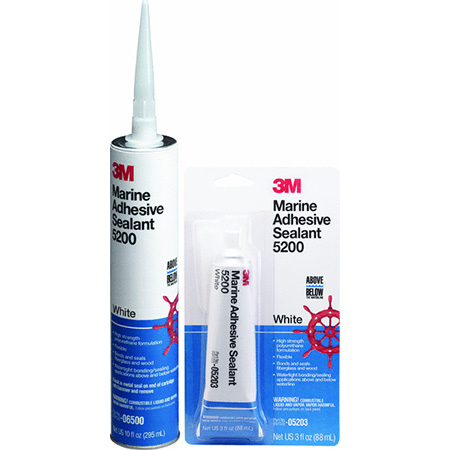
Sealant and Caulking
If your boat springs a leak out of nowhere, there is a good chance that some existing caulking or sealant has given out and will require replacement. The good news is that both sealant and caulk are relatively cheap and effective ways to deal with leaks. Our Boatlife Silicone Rubber Sealant is an excellent product for sealing tight corners and niches in the design of your boat, helping to limit long term damage.
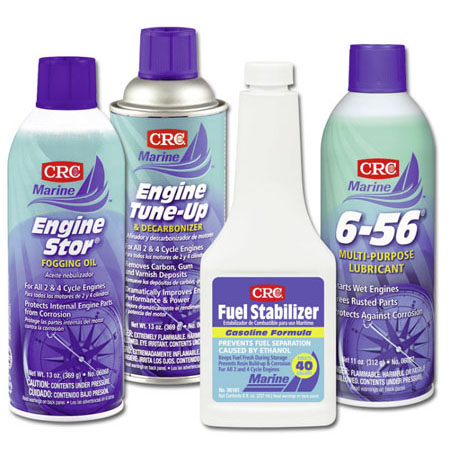
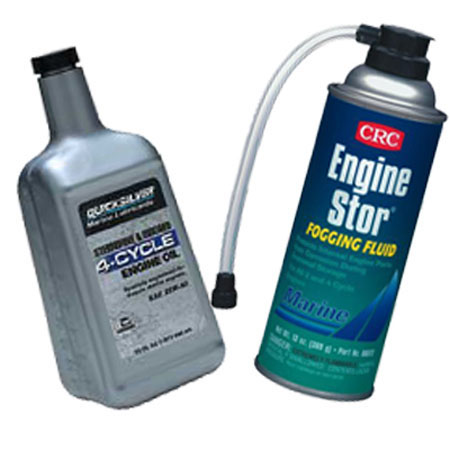
Winterizing

Maintenance Videos


Boat Restoration - A Shared Experience (1966 Starcraft Sunchief)

The first time I saw the boat was in the late 70’s at my soon to be father in law’s place in the mountains of Virginia. It was love at first sight! In the mid 80’s he offered it up for sale and at the time I couldn't afford it so I talked my brother into buying it.
The boat came to me well used with worn out carpet, rotting, soft flooring, numerous owner installed gizmos hanging all over it and overspray from a home made Harley painting episode in the same garage resulting in a light pink tint.

My wife and I made the decision to restore the boat, keeping the old school look and adding some functional upgrades to make it safe and fun. This would include new paint top and bottom, all new wood, seats, flooring, flotation, electronics, and hardware. The first thing to go was the floor and most of the miscellaneous accessories screwed to the aluminum everywhere. Next was the oil soaked flotation in the bilge area and all of the 42 year old wood.
Most of the useful factory hardware was salvaged and delivered to the chrome folks to be re-plated. All of the aluminum was polished using buffing wheels and aluminum polish by my wife and I. We even visited various local fabricators and had them generate new data plates, emblems, etc that have since become unavailable and we found things like the brand new 60’s era steering wheel and the Jetson stern light via on line auctions. We removed the outdrive, had it gone through by a local marine mechanic and I prepped and painted it in my garage.
I have to say at this stage that in 08 and 09, there wasn’t really much information available about how the old Starcrafts were put together. The lack of available information results in a fair amount of apprehension when you start trying to dismantle the boat. I decided before hand to start a thread on the restoration forums at iBoats.com to hopefully bounce ideas off of other boating folks and to share the experience with others wanting to accomplish the same task. Additionally, I began an exhaustive almost nightly internet search trying to learn all I could about 60’s era Starcraft aluminum boats.From the start, folks started joining in the nightly conversation and the build was on! The play by play can be found here;
//forums.iboats.com/showthread.php?t=286412
The nightly back and forth with other boat restorers really came in handy during the hull and topside prep and paint stage of the restoration. Keep in mind that prior to this project I’ve had absolutely no experience restoring old boats. I’d have to say that I considered the paint process the most challenging in the project. There are so many variables such as weather, prep, and paint choices and a person can easily become overwhelmed. I learned early on to post up a question, read all of the opinions, and make an informed decision and go with it.


After installing new marine plywood and reinforced fiberglass flooring we decided to do the interior with Sapele, an imported wood fromAfricathat is used as a modern day replacement for overharvested Mahogony. Then the wiring, seats and electronics. I have to say the wiring was a little intimidating for me but my son came over for a couple of evenings and made quick work of it!


Here’s a shot of the finished product. All in all we probably spent a little more on the restore than some folks would, but we are very happy with the end result and unlike someone who just purchased a new boat from the factory, we have the satisfaction of knowing that we did this with our own hands and we literally know every inch of our boat. Also it’s a boat that’s been in the family for more than 30 years.
Hats off to all of our friends at iBoats who helped make this happen……

Looks like a brand new boat! Restoration completed by North Beach

Boat Restoration - A Shared Experience (1964 Starcraft Jet Star)

The Jet Star was primarily designed as a sporty ski/watersport boat with a bench front seat and a rear-facing bench seat for observers. Its length is 15’ and it had all the features I’d been looking for in a boat. I had never really worked on boats before, but after reading a lot of information on iboats, I decided it was something I really wanted to do.


The first phase of my renovation was to clean it up and get it ready for painting, my goal being to have a safe and nimble older-style boat that I could enjoy on the water. I purchased a 2003 50hp Johnson and installed new seats, floor, flotation, rack and pinion steering system, and modified the transom to accept the long-shaft motor. By the time I had finished, I had learned a lot about painting, and had installed all new deck hardware (except for the famed “Jetson” stern light!), the Johnson 50 with new controls, a bilge pump, new rub rail, rewired the entire boat, and laminated an oak dashboard. It took a lot of research and hard work, but it was worth it.


The final details added to finish it up were vinyl decals of the name “Permanent Vacation” on each side, a new capacity plate and two cup holders.
Overall I really enjoyed the project, but one thing that added to its expense and made it take much longer than I had anticipated was that I did not have a clear objective in mind when I started out. I had not decided early on whether I just wanted to get on the water as quickly as I could, or really make this into a “showboat”. In the end, the latter just evolved because as I went along, I thought, “I’m only going to do this once, so I might as well make it look as nice as I can.” With the help of many iboat forum members, all my effort has paid off, because it’s a pleasure to drive and a lot of people on the water are very curious and I get a lot of compliments when they see it.
The final product! Looks great! Restoration completed by lakelover
View many more pictures and information on this restoration here.

Boat Gel Coat Scratch Repair

To fix those hull blemishes I'm sure all boaters have thought about using something like the Evercoat Match and Patch Kit at some time. Repair products like that have their place, but I've always found it to be hard to get a good color match. This is where Spectrum Color saves the day.
I was recently introduced to Spectrum Color. They are a marine gel coat company that makes boat manufacturer specific color matches based on the original gel coat. You just select your boat manufacturer and the year to find the exact color to make any repairs to your hull. See if they make the gel coat colors for your boat, exclusively at iboats.com

Chip and scratch repairs with the Spectrum Color Patch Paste Repair Kit are easy.
For small cosmetic damage that does not penetrate the fiberglass beneath the gel coat, follow the directions below in 60-90 degree temperatures. Also, remember to use safety glasses and gloves.
- Prep the area by cleaning with a solvent like acetone.
- Sand the damaged area with 220 sandpaper to remove loose material and sharp edges. Keep the repair as small as possible.
- In a mixing cup, mix 1oz of Patch Paste (1/2 jar) with 10 drops of catalyst.
- Fill the damaged area and smooth the patch paste slightly above the surface to allow for shrinkage.
- Once cured, sand the repair area with approximately 280-320 grit sand paper then 600-800 grit paper. Remove all scratches by buffing the area with a mild compound. Restore the deep shine by polishing with wax.