Boat Swim Platforms
-
-
-
-
-
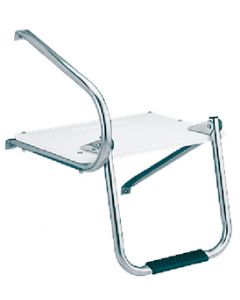
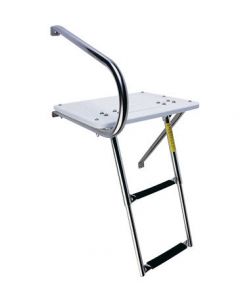
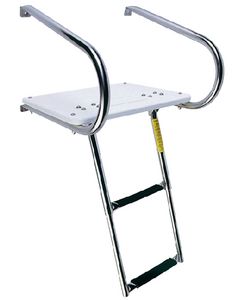
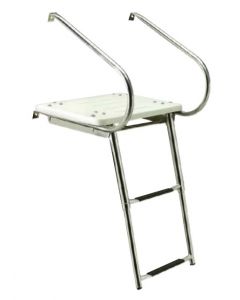
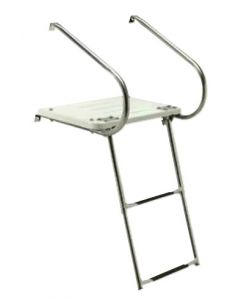
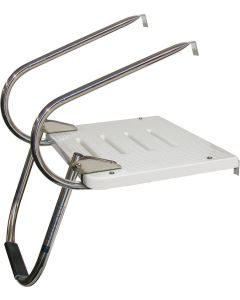
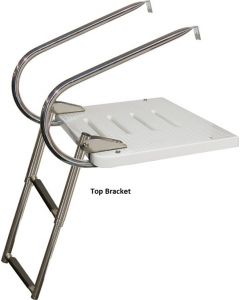
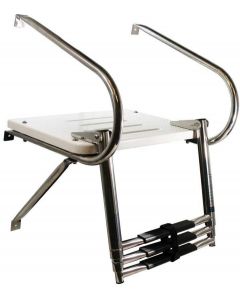
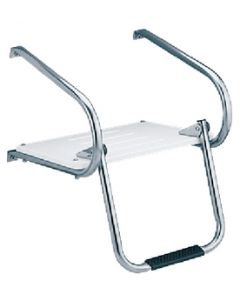
 Seachoice Poly Swim Platform Boat Swim PlatformsOut of stock
 -
-
-
-